
Manually assigning students to a Course
Note: BetterExaminations Online integrates with third-party user management systems like your Learning Management System (LMS), Student Information System (SIS) and Active Directory.
Using a third-party integration method is the best way to manage users.
When a Course has been created an Administrator can assign Students to it. Administrators can also add and remove Students from a Course while it's in progress.
1. Go to Courses and select the Course name you intend to add the Students to:

2. Select Students from the options on the left. A list of students already assigned to the Course will be listed on right. To assign students to or remove students from a Course enable Modify students by toggling the switch.

3. Select the checkbox next to the Student's name. To select all, click on the checkbox on the top left (the one beside "Given name") and select Save changes:

You also have the option to assign students via a CSV file to the course.
Note: These students must already exist globally on BetterExaminations within your organisation.
Assigning via Email address
You have the option to assign students via a CSV file using their Email addresses.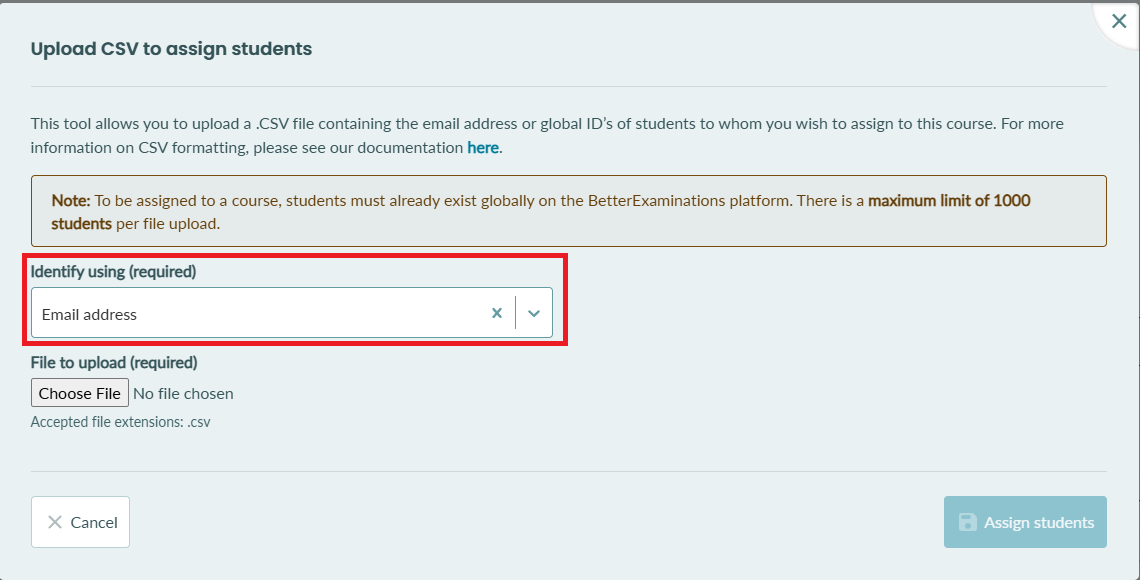
Your CSV file should have one column and just one email address per row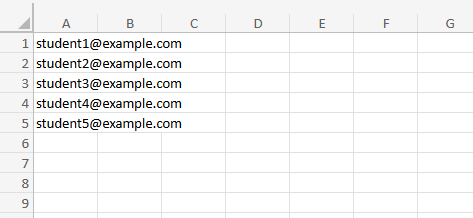
Once you have uploaded your CSV file, you should see the list of email addresses appear below in a table. To assign the selected students to the course, simply click 'Assign students'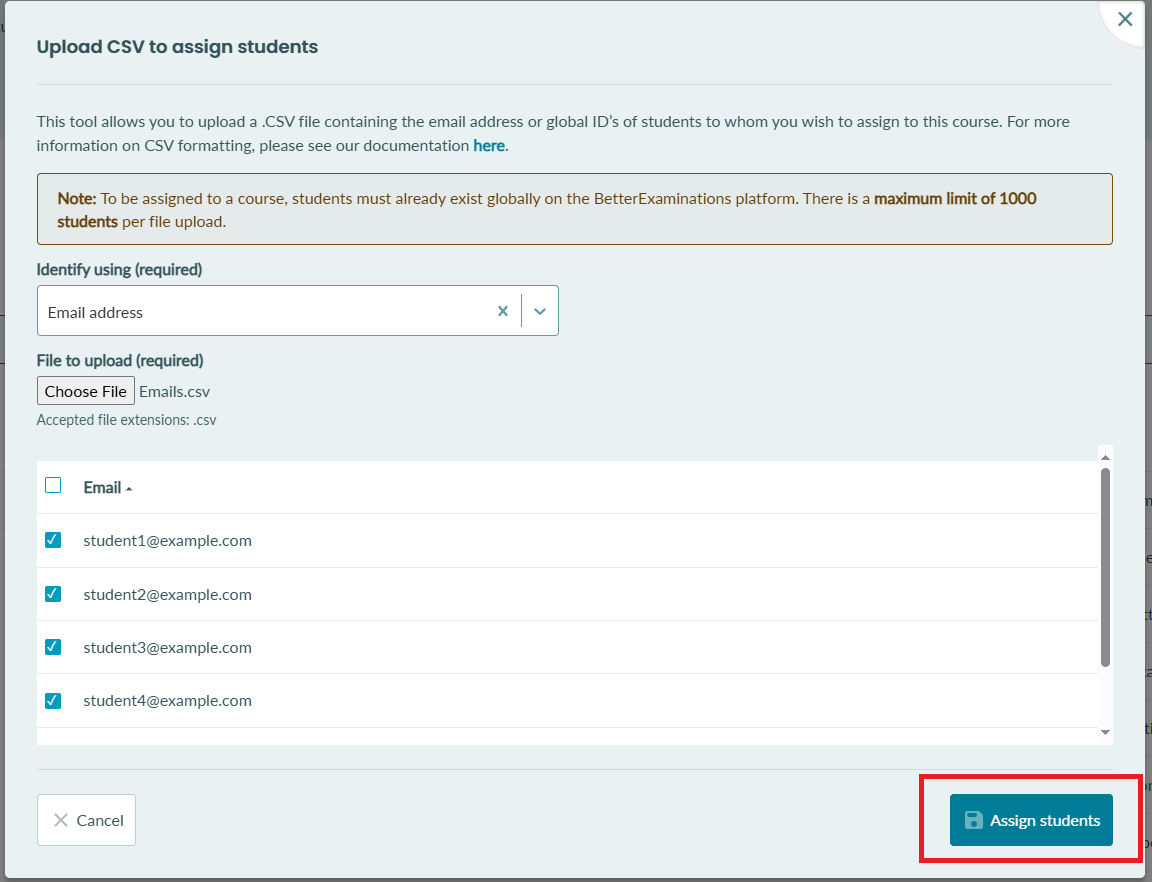
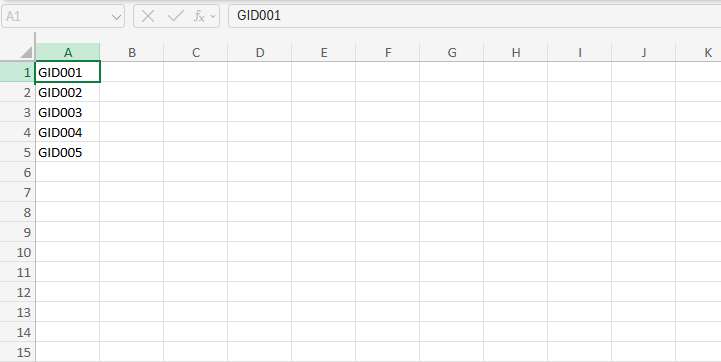
Assigning via Global ID
You have the option to assign students via a CSV file using their Global ID.
Your CSV file should have one column and just one global ID per row
Once you have uploaded your CSV file, you should see the list of global ID's appear below in a table. To assign the selected students to the course, simply click 'Assign students'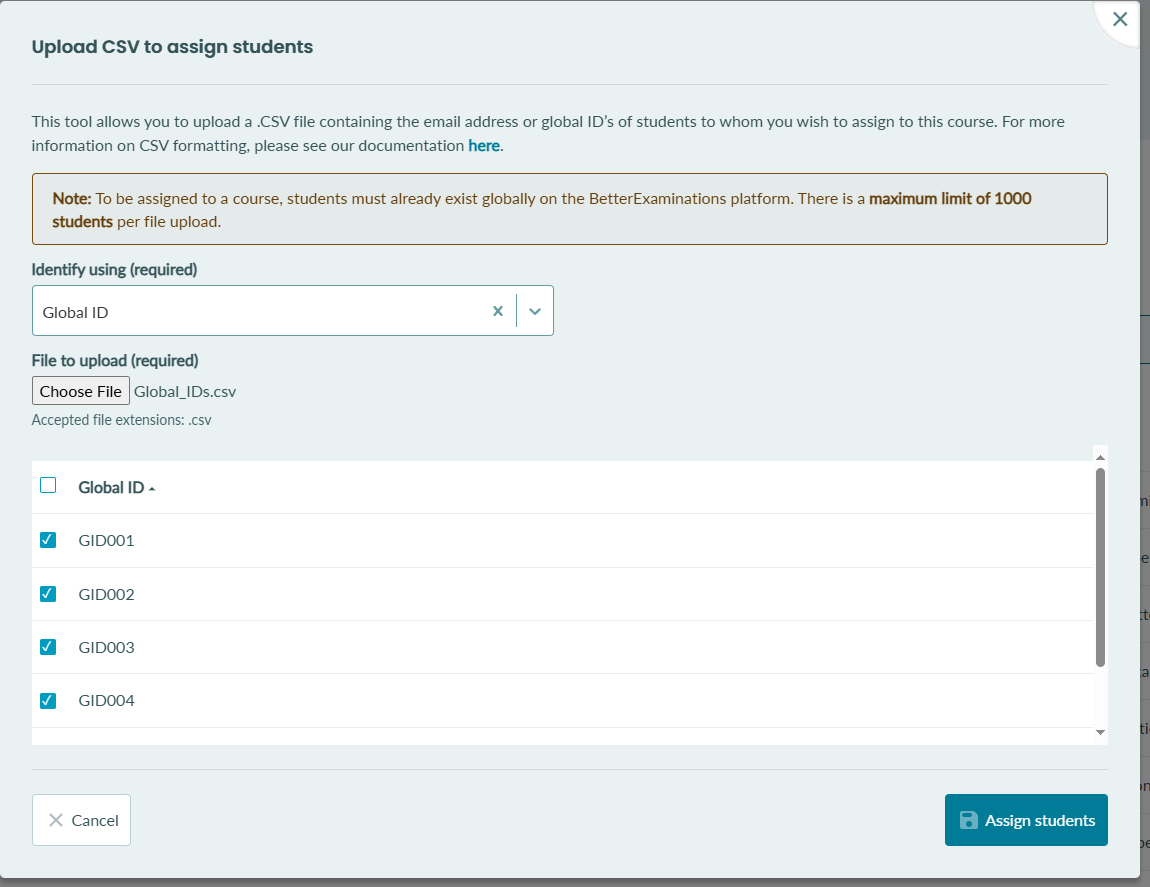
That's it – the selected Students have now been assigned to the Course.