
Manually Managing Users
Users with the right permissions can add, edit and delete users and students.
Note: In most cases, users are synced from an external user directory with LDAP/Active Directory, however, you can also manually manage users not synced from another source.
Users with a role that has the "Manage organisation settings" permission enabled, can view, add, edit and delete Users.
You can add users to BetterExaminations Online individually or bulk upload with a CSV file.
View users
All existing users and their User roles are listed on the Users screen. If you are looking for a specific user you can filter the results by searching with a string of text. You can also filter by the user's authentication type, or role using the dropdowns provided.

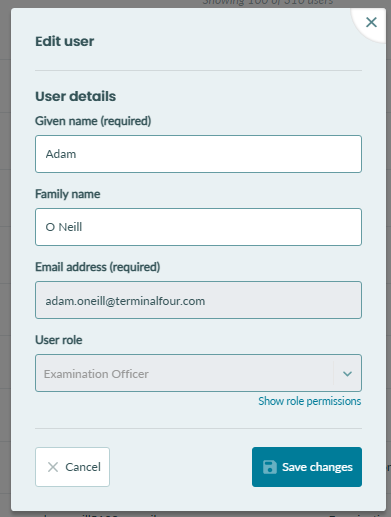
To edit a User's details go to the Actions column and select the Edit user button.
Note: you can not change your own user role.
Account Types
There are two Account types – User and Students. Students are listed on the Student's screen:

User Roles
User Roles are a set of permissions assigned to users to allow them to carry out tasks.
Learn more about User Roles here.
Manually invite users and students
Note: In most cases, users are synced from an external user directory with LDAP/Active Directory. This section deals with manually managing users not synced from another source.
You can invite new users and students one by one or you can bulk upload them with a CSV file. Select +Invite to open the "Invite users and students" drawer.
Invite Users and Students individually
Enter the user's or student's
- Email address
- Given name (required)
- Family name
- Account type – select the Account type. If the Account Type is "User", the Role drop-down will appear beside it
- Role – select the Role you want to assign the user

To add more than one entry select the +Add row button.
Don't forget to click on the Save and invite users button when you're done:

Bulk upload Users and Students
If you want to bulk invite a list of users you can upload a CSV file. CSV files can be exported from any spreadsheet application:
To upload, select the Choose file button


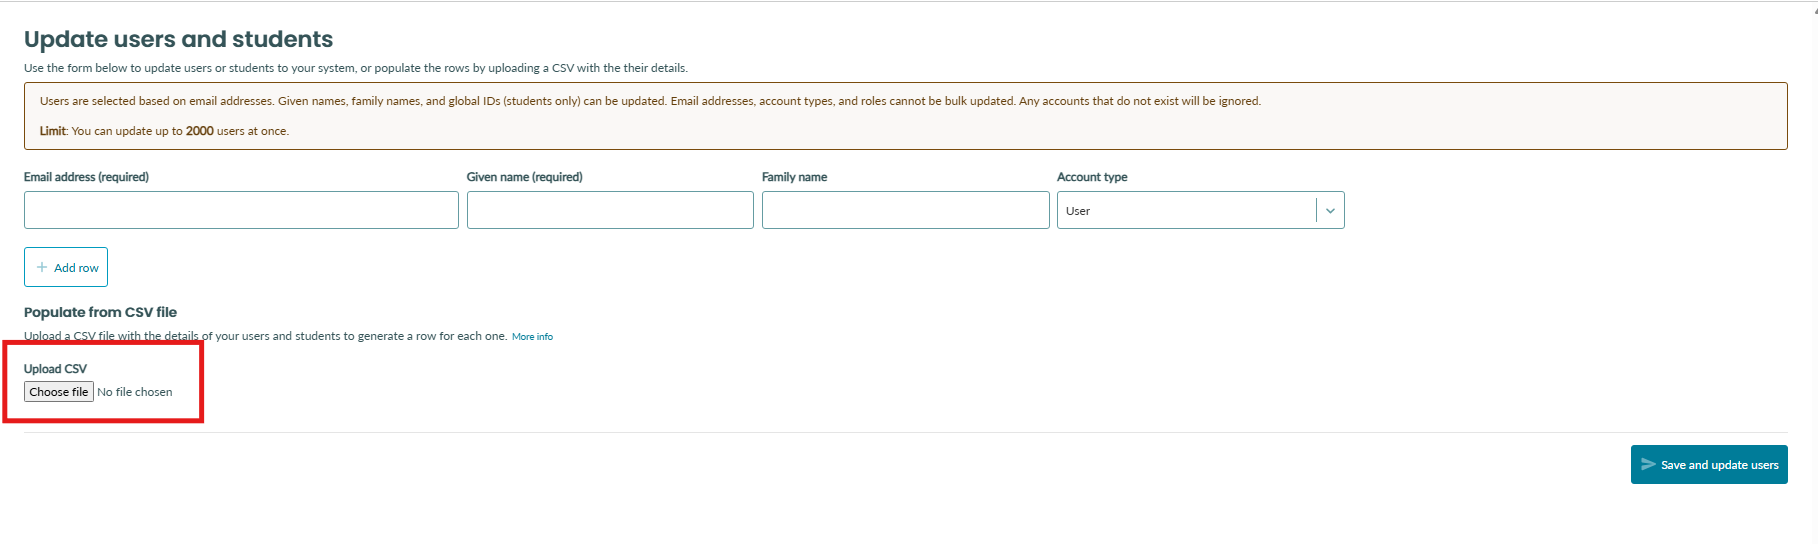
On successful upload the users and students will be added.