
Sitting a Proctored exam with Proctorio
This article will guide you through installing the browser extension and running the pre-checks necessary to use the proctoring tool.
Video walkthrough
See what it's like to start an exam with Proctorio in this walkthrough video
System Requirements
Before undertaking a proctored exam with BetterExaminations have a look at the system requirements. All of these requirements must be met to sit the exam:
| Requirement | Details |
|---|---|
| Desktop, laptop, or Chromebook |
|
| Google Chrome Web Browser OR Microsoft Edge Web Browser |
|
| Internet Connection |
|
| Webcam |
|
| Microphone |
|
| Access to a phone |
|
There are four stages to the pre-exam set-up covered in the steps below:
- Installing the extension
- Running the exam pre-checks
- Running the camera test
- Accepting the exam agreement
Step by step
Installing the extension
1. Before you begin the exam you will be asked to enter the Lobby.
Select Enter Lobby: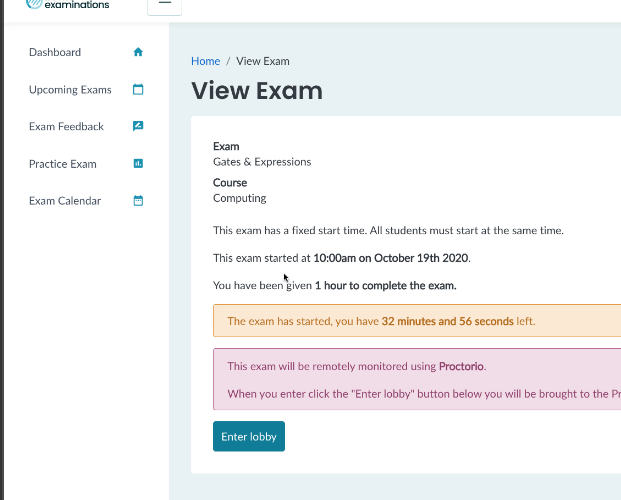
2. You will then be prompted to install the Proctorio Extension. You can install the Proctorio from the Chrome store, or if you're using Microsoft Edge you can install the Proctorio extension from the Microsoft Edge Add-ons site.
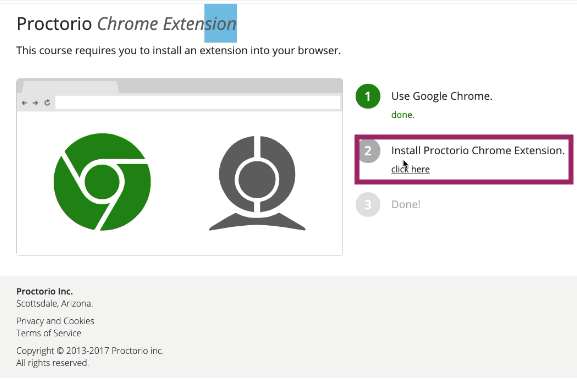
3. A new tab will open in your browser that will send you to the Chrome Web Store/Microsoft Edge Add-ons site.
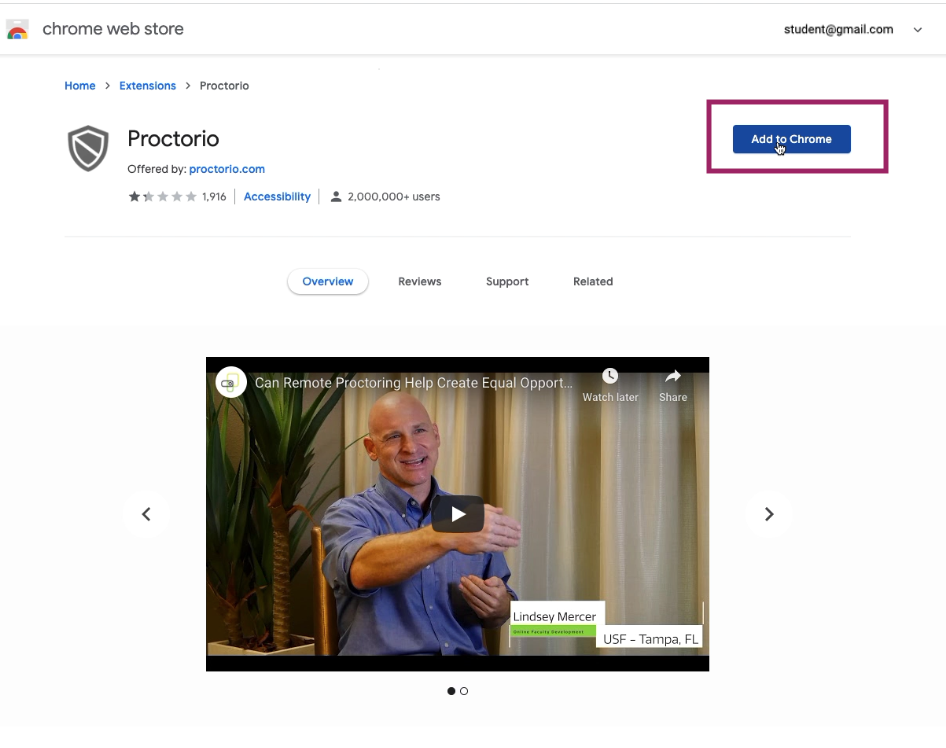
Select Add to Chrome/Get to begin installing the extension:
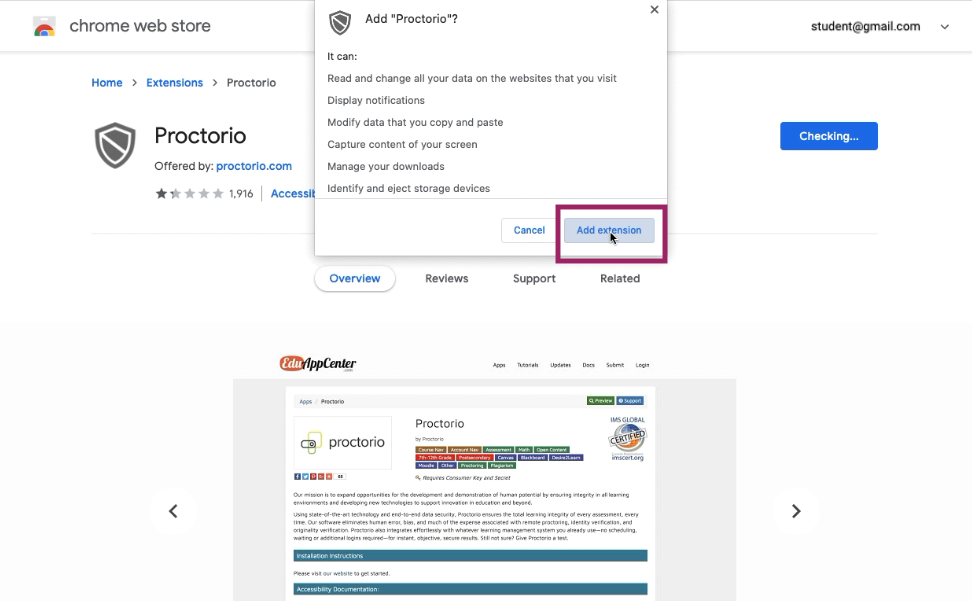
4. From the prompt box select Add extension:
5. When the extension has successfully installed you’ll see a confirmation message in the top right of the screen:
Running the exam pre-checks
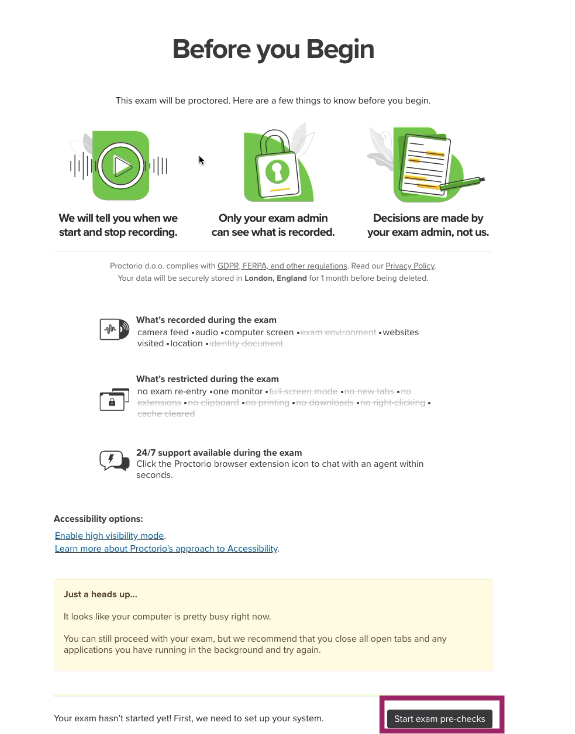
6. Return to the original tab where you will see instructions on what will happen during the exam pre-checks.
Select Start exam pre-checks to proceed:
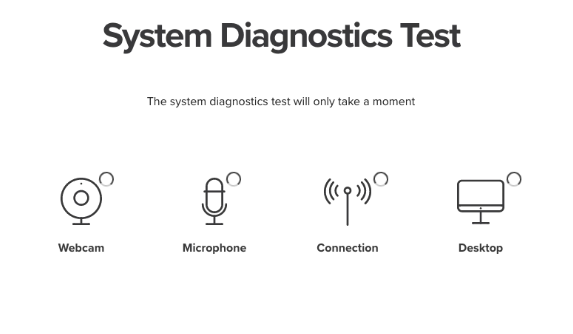
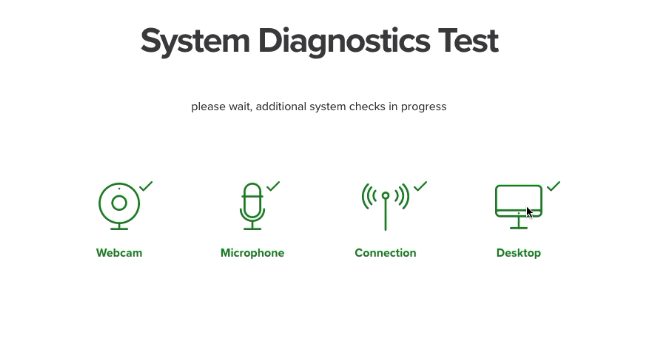
7. The System Diagnostic Test will begin:
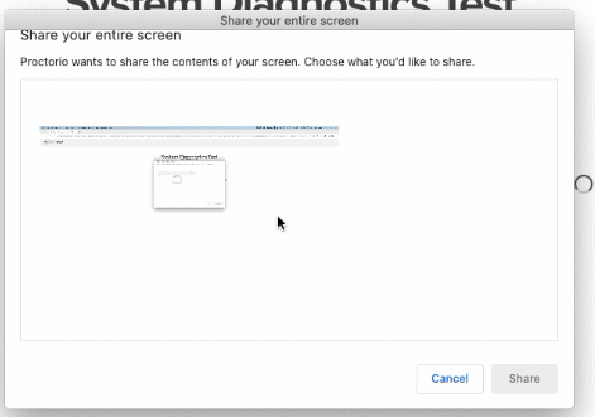
8. When the share screen prompt appears, select the screen that you want to share. When you select the screen you'll see a blue border around it. Select Share:
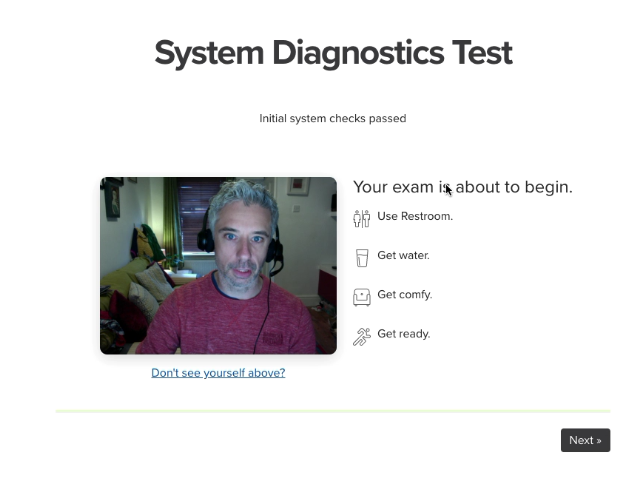
9. As all checks pass the icons will turn green.
This may remain on screen for a few moments after the test has completed so please be patient and don’t close the window.
Running the camera test
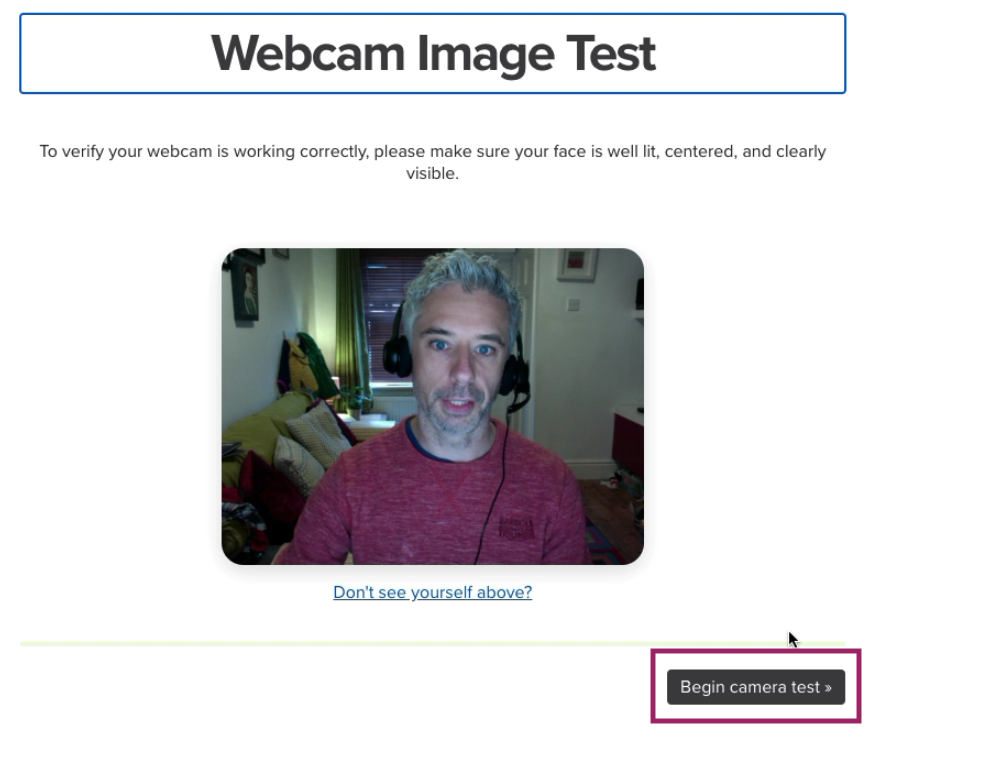
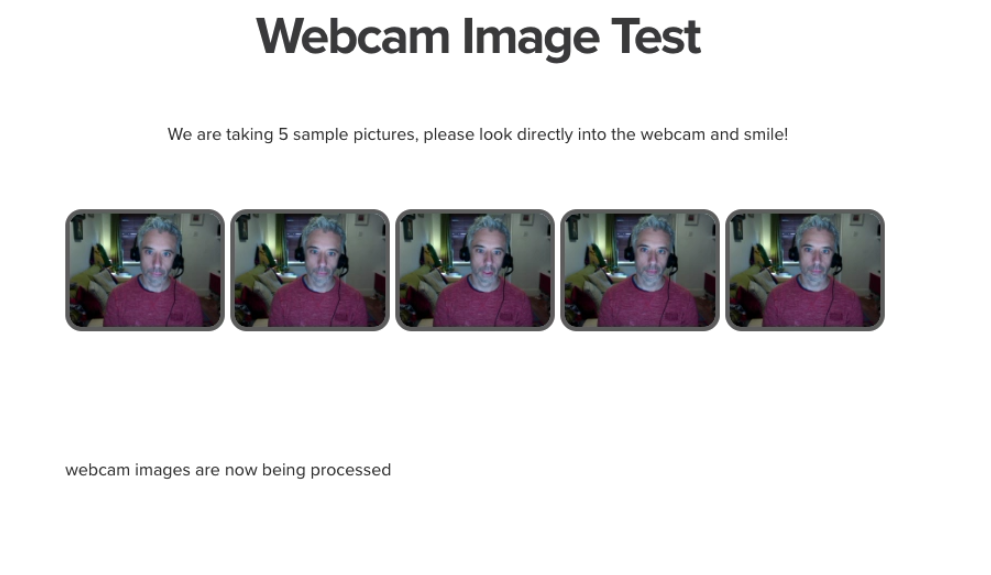
10. Now the camera test will begin. This checks that the webcam can see you by taking five sample pictures.
Select Next to proceed:
11. Select Begin camera test:
12. A countdown will appear which will give you time to centre yourself in the camera frame.
Look directly into the camera and smile:
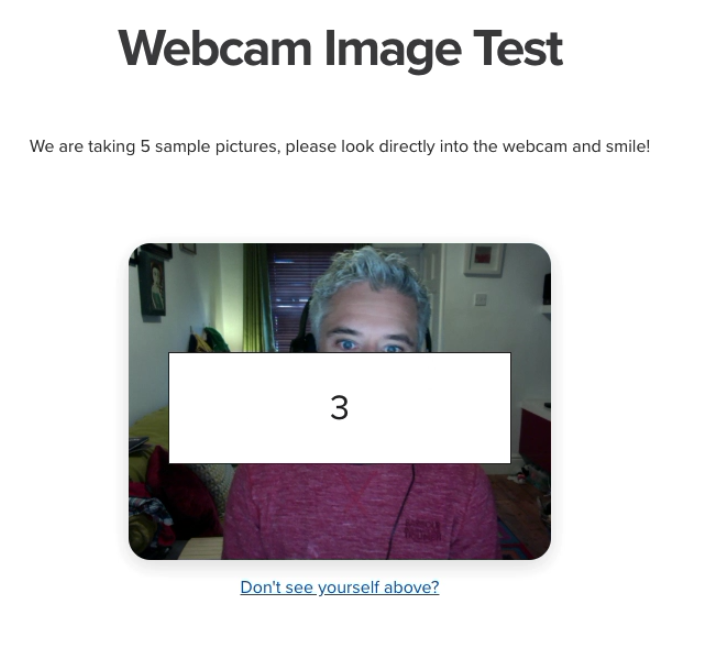
13. The sample pictures will be displayed:
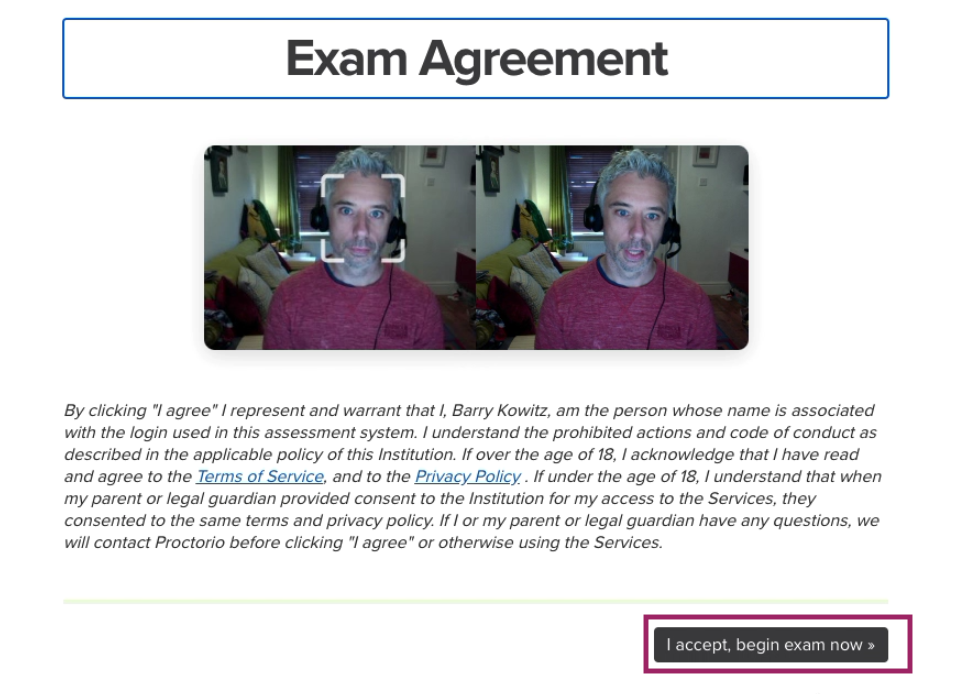
Accepting the exam agreement
14. Select I accept, begin exam now to start the exam:
Good luck!