
How to mark an exam
A guide to marking an exam in BetterExaminations
Marking an exam
This page will walk you through the steps for a standard marking process.
For information on setting up double marking, please see Double marking and moderation.
For information on setting up assigning markers to questions, please see Assigning markers to questions
Submissions list
Exam submissions will appear in the submissions tab of the exam sitting. You can search for one or more students using the "Filter by text..." text box.
Hover over the submission time and date to see:
-
"Total session time" (the difference between when the student started the exam and when the student submitted the exam; this can include the time when the student may have left the exam.
-
"Active time" (the length of time the student was active in the Exam)

If the exam contains all auto-scored questions, the results will be fully calculated. If the exam contains some auto-scored questions, results will only be partially calculated at this point.
You can see the number of questions each student answered correctly out of the total number of questions. You can also see the calculated percentage grade given.
To see a further breakdown of scores, hover over the scoring bar:

From the example above, we can see that one Student has not taken the Exam (Darina) and another (Jane) did not attempt any questions.
From the "Options" dropdown you can download the submissions as a .CSV file or access the exam analytics for this Exam Sitting.
.png)
Marking a submission - Video Tutorial
Please see below a video tutorial on marking a student submission. This covers individual question feedback, annotation tools, overall feedback, and marking statuses. A step-by-step text tutorial is also available below the video.
Time stamps are available in the video description.
Marking a submission - Step-By-Step Guide
Before marking any submissions, it's important to note that new submissions will have the status ‘Awaiting review’ by default. This means that no marking has occurred on the submission. Submissions containing only auto-scored questions will also have this status until manually reviewed.
To begin marking/reviewing a submission, simply click on the student's name (or student alias if Blind Marking is enabled).
The first time you save your marking progress, the status of the submission will be updated to 'Marking in progress'.
The marking page is divided into three main sections: Toolbar, Answer Area, and Feedback Area.
Toolbar
The toolbar contains 3 sections

(1) Student navigation - The navigation tool allows you to quickly switch between student submissions without having to exit the marking page.

(2) Filter by question - You will see a dropdown option in the marking toolbar which allows markers to filter by question. This makes it easier for markers to mark all answers for question 1, then mark all answers for question 2 etc.
(3) Overall feedback - You can read about Overall feedback here
(4) Total score - The student's score and total score are displayed here. The total score percentage is adjusted automatically based on the score weighting and is updated as the scores are inputted into the points field.
How saving works when marking
When marking, you can save your progress and come back to the submission later. Whenever you make a change on the marking page, you will be prompted to save your progress. An information banner (shown below) will be displayed below the toolbar whenever you have unsaved changes.
You should save your progress regularly to avoid losing any marking data. If you have unsaved changes and attempted to close the marking page, you will be prompted to remember to save changes.
If you ignore this and close the page anyway, any unsaved changes (including points, annotations, comments, overall feedback, marking status, etc) will be lost and cannot be retrieved. 
Answer Area
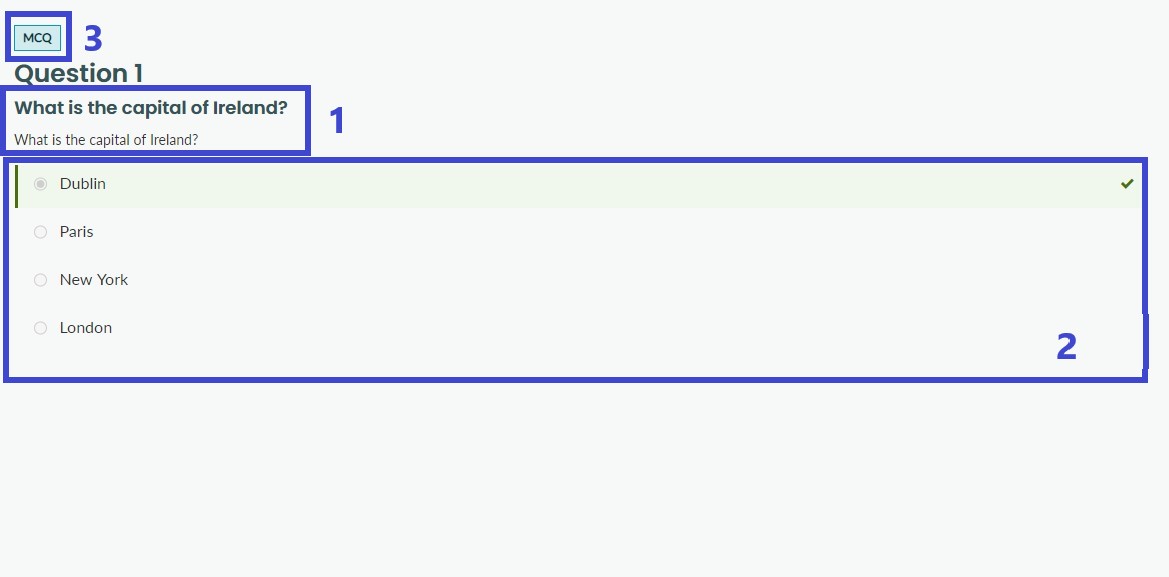
The left-hand side of the marking page displays the student's answers. You will see the question title (1), the student's answer (2), and the name of the section this question belongs to (3).
Feedback Area
The right-hand side of the marking page displays the scoring and feedback options for the student's answers. There are two main areas in the column; (1) points field and (2) marking/feedback tools.
(1) Points field
In the feedback column for each answer, you will see the points the question is worth and an input box to enter the student's score.
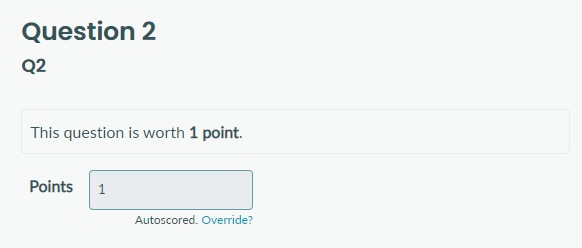
For auto-scored questions, the points field will be auto-filled and disabled by default. You have the option to override the auto-score value by selecting ‘Override’ underneath the points box.
If you enter an invalid value for the points field, E.g The question is worth 1 point and you give the student 4 points, you will see an error message below the points field and you will be prevented from saving. This ensures that all scores are valid before saving your marking. 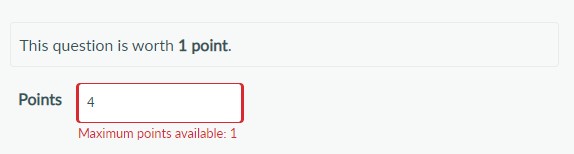
(2) Marking/Feedback tools
Question-level feedback with comments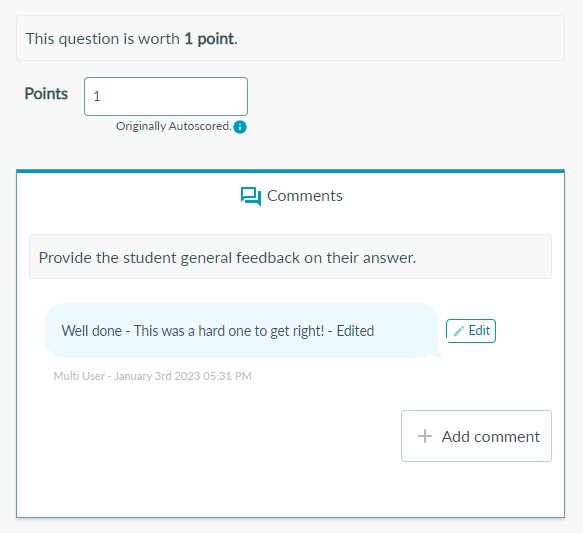
Comment tools are available on all question types. Comments can be used to give students feedback on individual answers. (Note - Question-level feedback must be enabled in the exam options for students to see these comments). You can leave multiple comments on a single answer.
Your name and the date you left the comment will be displayed below each annotation comment. This information will be visible to all other users with exam marking permissions. However, this information will not be shared with students.
How to give question-level feedback with comments
To create a comment, select the ‘Comments’ tab to the right of the answer and click ‘Add comment’. Enter your comment and click on ‘Confirm’. Comments can be edited or deleted at any point.
Please note after adding, editing, or deleting a comment, you must save in order for changes to take effect.
Annotation tools
(Note: Annotations are currently only available on ‘Essay with rich text’ and 'Maths essay with rich text' type questions)
Annotation tools allow you to highlight parts of a rich text answer and associate a comment and or points with that area of the answer. Annotations and their associated comments/points are not shared with students and currently serve as a marking tool only.
(1) To create an annotation, select the annotations tab on the marking tools tabs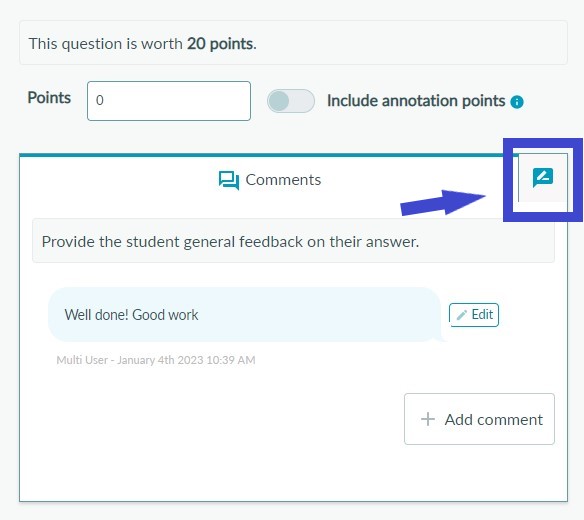
(2) Once this tab is selected, highlight an area of the answer text. When you finish highlighting, you'll notice a new annotation is created in the list of annotations. 
Annotations consist of two key parts: Comments and Points.
As well as comments, you can also assign points to an annotation. In order to create an annotation successfully, you must provide either a comment, a point value, or both.
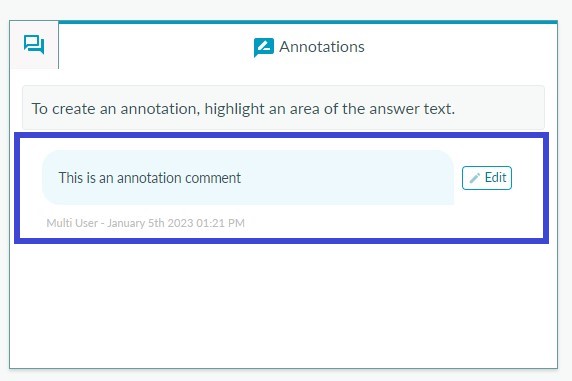
Using annotations comments
Annotation comments are intended as a way to leave marking notes for you or another marker to review. You can add as many annotation comments as you like to an answer. Remember, these annotation comments will not be shared with students. They can be used to communicate between markers or simply to make notes as you mark.
(1) To leave a comment on an annotated area of the text, simply type your comment into the comment box and click 'Confirm' 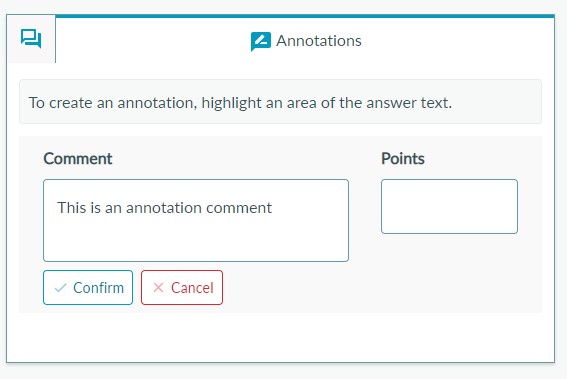
Your name and the date you left the comment will be displayed below each annotation comment. This information will be visible to all other users with exam marking permissions.
Please note after adding, editing, or deleting an annotation, you must save in order for changes to take effect.
Using annotation points
If you want to tally up marks as you mark a student's answer, you can simply highlight an area of the answer and assign a point value to that highlighted area.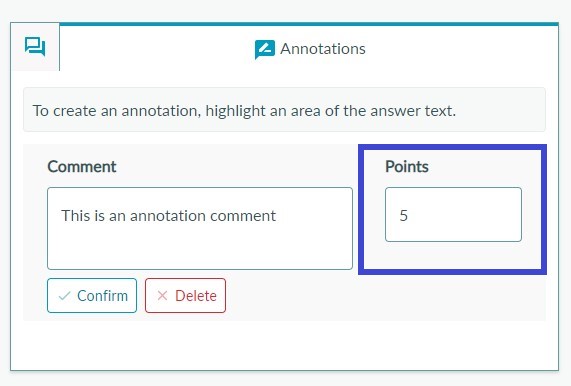
You can then repeat these steps and once you’re at the end of the answer, toggle on the ‘Include annotation points’ toggle. This will add up all your annotation points and enter the total automatically into the points field. If you already have a value in the points field, it will add the total of the annotation points to that value.
In the example below, toggling on the 'Include annotation points' toggle calculates the total of all the annotation point entries and fills the points field with the result (which in this case is 9).
Example 1
- The points field contains ‘0’
- You create 3 annotations and give them 5 points each
- Toggle on ‘Include annotation points’
- The points field will now be updated to ‘15’
Example 2
- The points field contains ‘5’
- You create 3 annotations and give them 5 points each
- Toggle on ‘Include annotation points’
- The points field will now be updated to ‘20’
- Toggle off ‘Include annotation points’
- The points field will now be reverted to ‘5’ again
Please note after adding, editing, or deleting an annotation, you must save in order for changes to take effect.
Overall Feedback
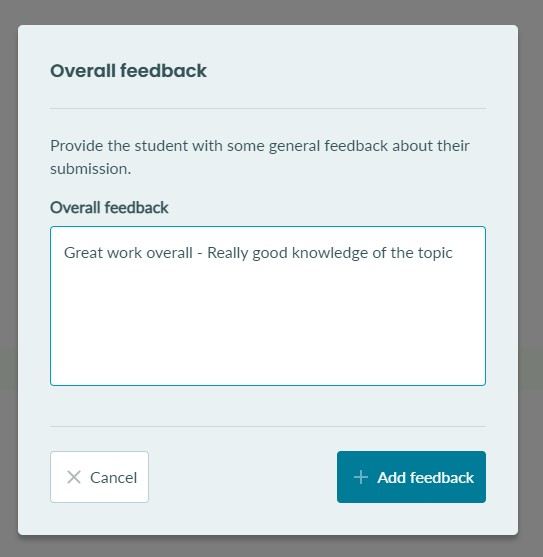
The overall feedback option is available from the toolbar on the marking page. Providing the student with overall feedback is optional. It can be used to give the students general feedback on their overall exam.
Note: If you have an LTI platform connected to BetterExaminations (Blackboard or Moodle), this feedback will also be synced with your LTI platform.
(1) To give the student overall feedback, click the 'Overall feedback' button in the toolbar.

(2) Type in your feedback and click 'Add feedback'
(3) You should now see a green tick beside the overall feedback which indicates that overall feedback has been given.

Please note after adding or editing overall feedback, you must save in order for changes to take effect.
Updating submission status to 'Marking complete'
As you mark a student's submission and save your progress, the submission will remain in the status 'Marking in progress'.
When you have finished marking the exam and want to mark it as 'Marking complete', simply tick the checkbox 'Marking complete' at the top right of the marking page and click 'Save'.

Once saving has been completed, the submission status will now be updated to 'Marking complete'. 
This status can be reverted back to 'Marking in progress' by unticking the same checkbox and resaving the submission.
Releasing results to students
Once you have completed your marking, you can release the results to students.
Read about releasing results here