
Scheduling an Exam
A step by step guide to scheduling an Exam
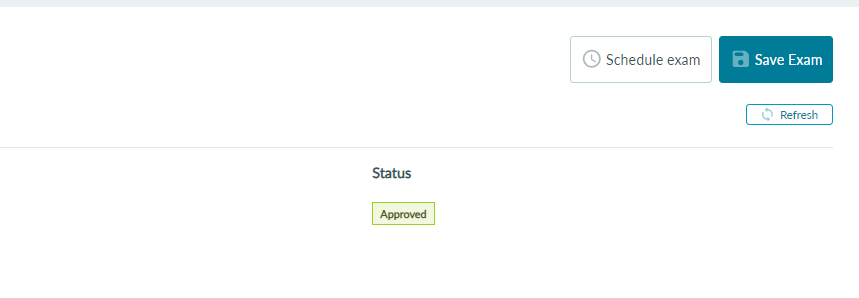
When an Exam has been approved by a user with the appropriate permissions, its status changes to "Approved"
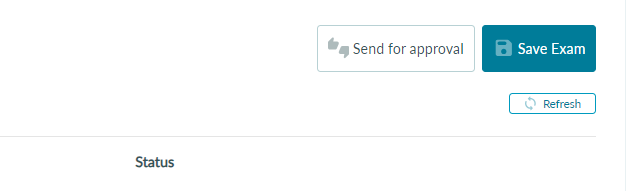
You can now schedule one or more sittings for this exam.
1. In the Edit Exam screen, select the Schedule exam button:
2. Give the exam sitting a name
An Exam can have more than one sitting. This means you can schedule different exam rules like start date, length, proctoring and integrity settings and whether the Exam supports late entry and re-entry for different subsets of your exam cohort. A sitting name helps you to reference it again in the future.

3. Assign Students
There are two methods you can use to assign students to your exam.
Method One - Manual Selection
A list of all the students in the course will be listed. Select which students should be assigned this sitting of the Exam. You can add all students to the Exam by selecting the checkbox in the top left of the listing table. To search for particular students just add their given name, family name, or email in the filter input.
Method Two - Assigning via CSV
You can create a .CSV file that contains a list of all the email addresses associated with the students you wish to assign to the exam sitting. Your CSV file should have one column and just one email address per row (see example below)
Please note: Students on your list must already be assigned to the course.
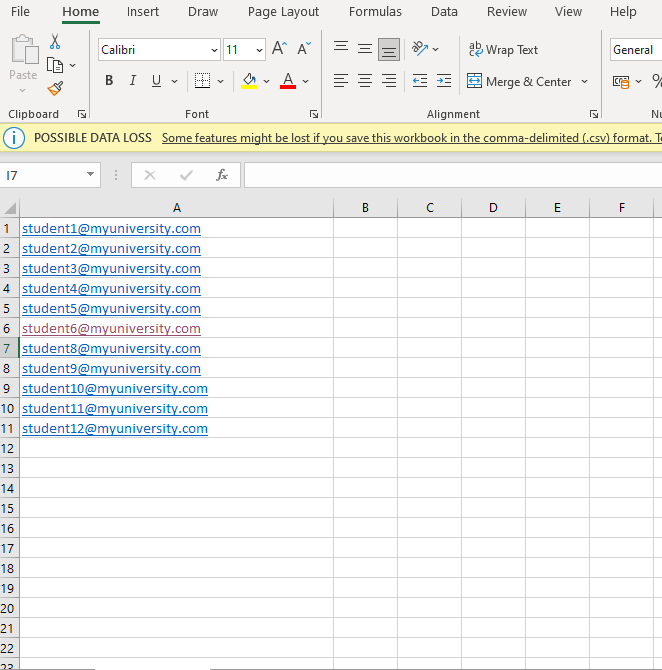
Once you have created your .CSV, click on the 'Assign via CSV' button (see below) and upload your CSV. Students contained in the list will automatically be selected in the table.
4. Set a start date and time
Next, you can specify a start date and time for this Exam sitting:

Exams can also start within a given range. If you choose to "Start with a range", select the button and add another start time and date (later than the first start time):

5. Set Exam length
As well as specifying the length of an Exam you can also use the "Warn students about remaining time" toggle to ensure students are shown a reminder about how much time they have remaining in their exam. The default remaining time is 10 minutes but this can be customised to any number between 1 and the length of the exam:

When the remaining time warning is enabled the student will see a dismissable alert in the bottom left of the screen and the exam clock will turn red:

6. Lobby pre entry time
The exam lobby is an area for students to join before their exam starts where they will not be considered "late" for an exam. For example, if you schedule an exam to start at 8AM and a student joins the lobby at 7:45AM, they will not be considered "late" even if they enter the exam a little after 8AM. You can configure how long before your exam the lobby opens using this setting. By default, the Lobby pre entry time is set to 30 minutes.
Note: For Proctored exams, students will be recorded as soon as they join the lobby.

7. Allow exam re-entry
If a student has a technical difficulty or accidentally closes the Exam window the Exam re-entry setting will allow them to rejoin the Exam.
This setting is enabled by default.
When Allow re-entry is enabled, you must select a "Latest re-entry date and time". This is the latest date and time that a student can rejoin the exam if they get disconnected. Once this date has passed, users cannot rejoin the exam unless they have an exception.
8. Allow late joining
The late joining option is available for Exams set to "Start at a specific date and time" only. It is not displayed for Exams set to "Start within a range".
This setting is disabled by default.

9. Add Exam Tools
With Exam Tools, students can make notes, add multi-color highlights to text, add sticky notes and draw right on the page.

10. Enable proctoring and integrity
If you choose to add proctoring and integrity checks to the Exam select this option

11. Select Finish
The Exam Sitting is now listed in the "Exam Sittings" Tab.

When can a student join an assigned exam?
There are a number of cases that determine when a student is allowed to join an exam or not. Here's a breakdown of the scenarios:
If a student has already started the Exam
- If Re-entry is allowed, they have until the exam's Latest re-entry time to rejoin the exam (unless an exception has been applied for that student).
- If Re-entry is off, they won't be permitted back into the exam (unless an exception has been applied for that student).
If a student hasn't started the Exam
- If the exam is ranged, they have until the end of the range
- If Fixed date/time and Late Join are enabled, they have until the start date plus the exam length to join
- If Fixed date/time and Late Join are disabled, they must join before the exam start date